httpv://www.youtube.com/watch?v=lIJoURrerNs
A brief story
This seemingly small project contains 3 parts: Geektools coding, background graphics, and a new font.
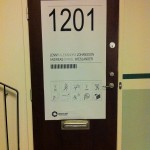
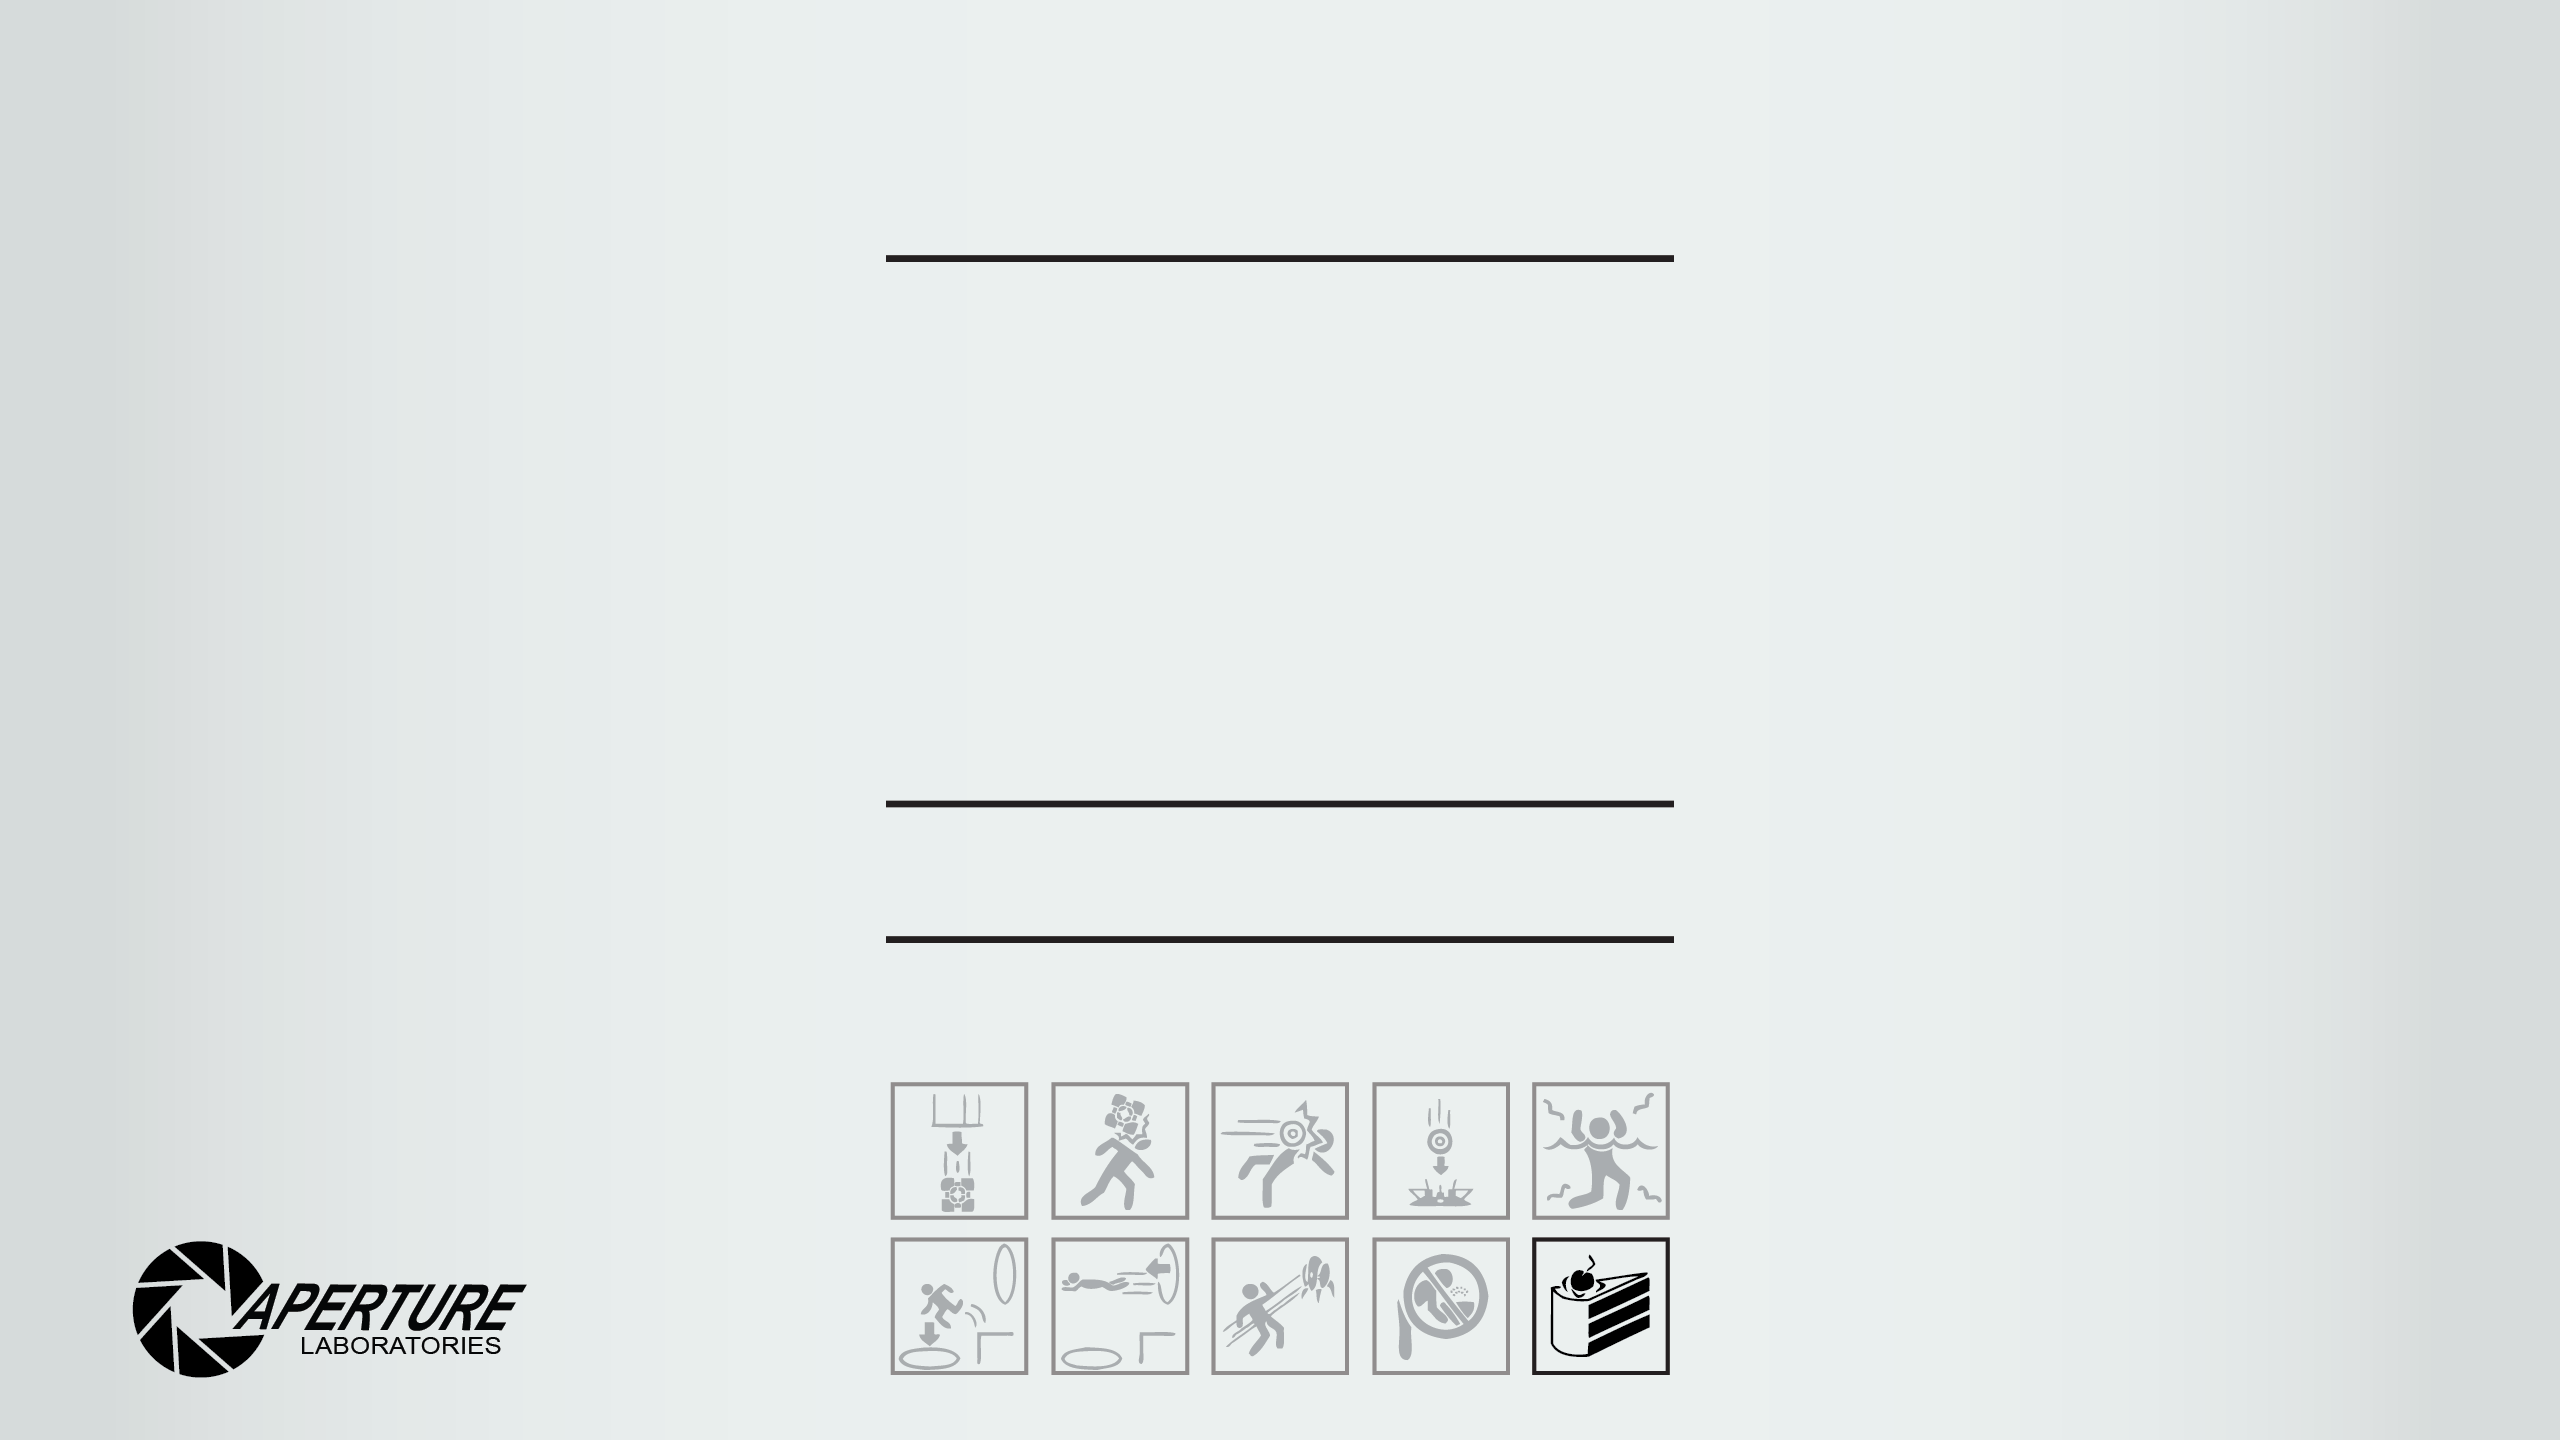
It started a while back with me seeing a someone who made a portal 2 door poster. I was unable to get my hands on the vector graphics so I decided to make my own. I took photos of portal 2 using a handheld camera, imported the photos into Illustrator and started tracing the outlines. After a while I had something that looked like a real poster and used a giant printer to produce this:
Some time later I was getting into Geektool and looking for so called geeklets: finished snippets of code ready for download. I’m not really a programmer and quite like cool stuff that works with minimal effort. I stumbled across a geeklet by a guy called JimmyBollox (^^) at www.macosxtips.co.uk/geeklets/system/system-info-circular-graphics
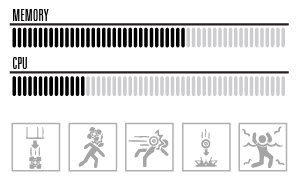
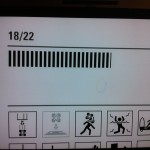
As the link implies, he had made some circular graphics which were able to show things like your CPU and Memory usage. To accomplish this he had made his own circular graphics font which corresponded to a certain percentage with a being 0% and Y being 100%. I thought that was a really neat way to do, escpecially since I can’t code.
I downloaded his code snippets and decided I’d make my own font that would look more like a standard progress bar and fit in with the Portal 2 theme.
I made some really simple bars in Illustrator and got stuck when it was time to transform my graphics into a font.
I tried so many different types of software: ScanFont, TypeTool, RoboFont, Inkscape, FontLab. I’m sure there were others but these are the ones I remember from the top of my head. All the fonts exported had errors I couldn’t figure out and were seemingly random. I put a lot of hours into this and even asked for external help, but to no avail.
Then, suddenly, 6 months later, I discovered software previously unknown to me called Fontographer 5. I gave it a go and it worked out of the box. I simply copied and pasted my graphics into the corresponding letter, hit generate font files and that was it. The new font worked exactly as it should and I was finally able to setup this sweet living desktop background.
Download font
Font 1 a: progress bar with full steps (this is the one I used)
Font 1 b: progress bar with semi steps (if you prefer semi steps)
Font 2: Zurich Light (for the date and time text and numbers)
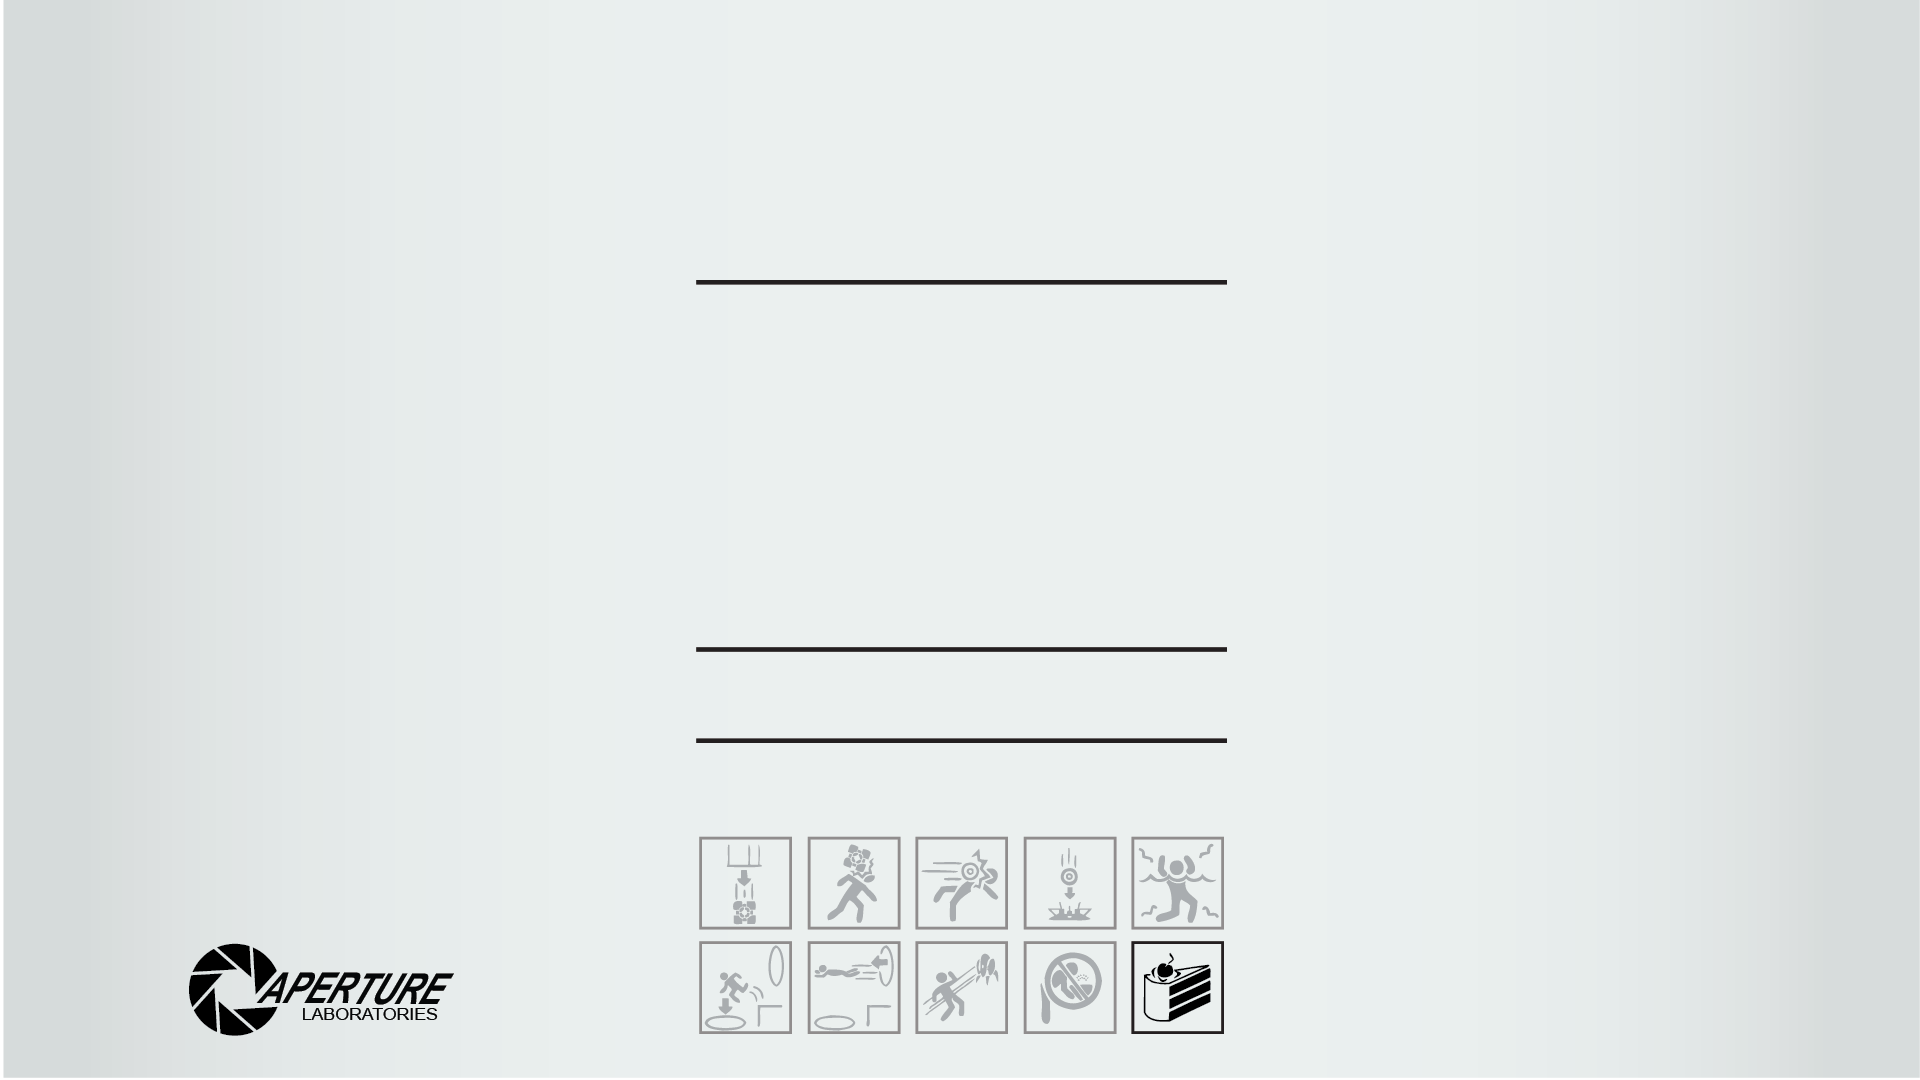
Download background
2560 x 1440
1920 x 1200
1920 x 1080
1680 x 1050
1600 x 1200
1600 x 900
1344 x 756
1280 x 1024
1280 x 720
1024 x 768
800 x 600
If you’d rather make adjustments to the background feel free to use my original Illustrator vector graphics.
Download geeklets
Geeklets.zip (updated October 25th)
Tutorial (text)
Step 1) Go get Geektool at the Mac App Store if you haven’t already.
Step 2) Download Font 1 and Font 2 from this page. Open Font Book on your Mac and click and drag the fonts into that program. The fonts are now installed and you can use them in all your software.
Step 3) Download one of the backgrounds, whichever fits your screens resolution. If you have another settings or want to change the appearance, feel free to download the Illustrator file instead.
Step 4) Save the background where ever it suits you. Right click the file and choose Set Desktop Picture.
Step 5) Download all the geeklets by right clicking the Geekelts.zip file and select the equivalent of ”save as”.
Step 6) Doubleclidk the ZIP-file to unarchive it. Install the geeklets by doubleclicking them and answering ”yes” when you’re asked if you really want to open the files.
If the popup window is so large that the YES and NO button is pushed outside of your screen, the follow Tucker Chapin’s instructions:
Go to System Preferences > Keyboard > Keyboard Shortcuts Tab and select “All controls” rather than the default of “Text boxes and lists only.” Then when the popup comes up hit TAB then Enter to select ”YES”.
Step 7) If you have installed the 2 fonts and used the same background as I (2560 x 1440), the geeklets will probably look fine. If not, you’ll have to adjust their position and possibly font. You have to first highlight Geektool if you want to change any of the geeklets, so click the app icon once, then the geeklet you want to change. You can now click and drag to move it around or enter a X and Y position manually. You can of course also change the font with the font button.
That’s about it, I guess. You could open up Activity monitor and see if the readings match. The Memory meter is showing the value of Used memory which is (Wired + Active + Inactive) and the total is Used + Free. When you’re all done you can delete the geeklets, but I suggest saving the desktop image somewhere.
Tutorial (video)
youtube.com/watch?v=Sz_KGMwS6rA
Problems?
Problem 1) I can’t open the geeklets after I’ve downloaded them. ”I have GeekTool running but it says that it cannot open that type of file. However my icon for the Geeklets is just blank white unlike your in the video.”
Solution 1) Max Pillong says: Simply open up GeekTool and create your own Script Geeklet (The content doesn’t matter) and save it. After this it should recognize the extension .glet to be opened with GeekTool.
Problem 2) The popup window is so large that the YES and NO button is pushed outside of your screen.
Solution 2) Tucker Chapin says: Go to System Preferences > Keyboard > Keyboard Shortcuts Tab and select “All controls” rather than the default of “Text boxes and lists only.” Then when the popup comes up hit TAB then Enter to select “YES”.
Variations on this theme
JordoTron i.imgur.com/if6T4.png
Matt Fairbrass imgur.com/gYBBv
@CompendiaryMe twitter.com/CompendiaryMe/status/260452060833660928/photo/1
Sean Dohring i.imgur.com/6HapB.png
Note 1: I only used 2 of the geeklets www.macosxtips.co.uk/geeklets/system/system-info-circular-graphics provided. If you want you could simply go there and download the others and change the font to my progress bar with full steps.
Note 2: THANK YOU Max Pillong for fixing the code issue that showed incorrect readings when you have more than 10 GB RAM. You solved the final piece of the puzzle.


